
If you're using WordPress for your website, you can easily integrate live chat support for your visitors with Ruut. By adding the Ruut live chat widget to your WordPress site, you can connect with your customers in real-time, answering their questions and addressing their concerns without the hassle of manual back-and-forth communication. Here's how you can get started in 4 simple steps:
Step 1. Download the Ruut Plugin.
Download the Zip file of the latest Ruut WordPress plugin from here

Step 2. Upload the plugin to your WordPress website
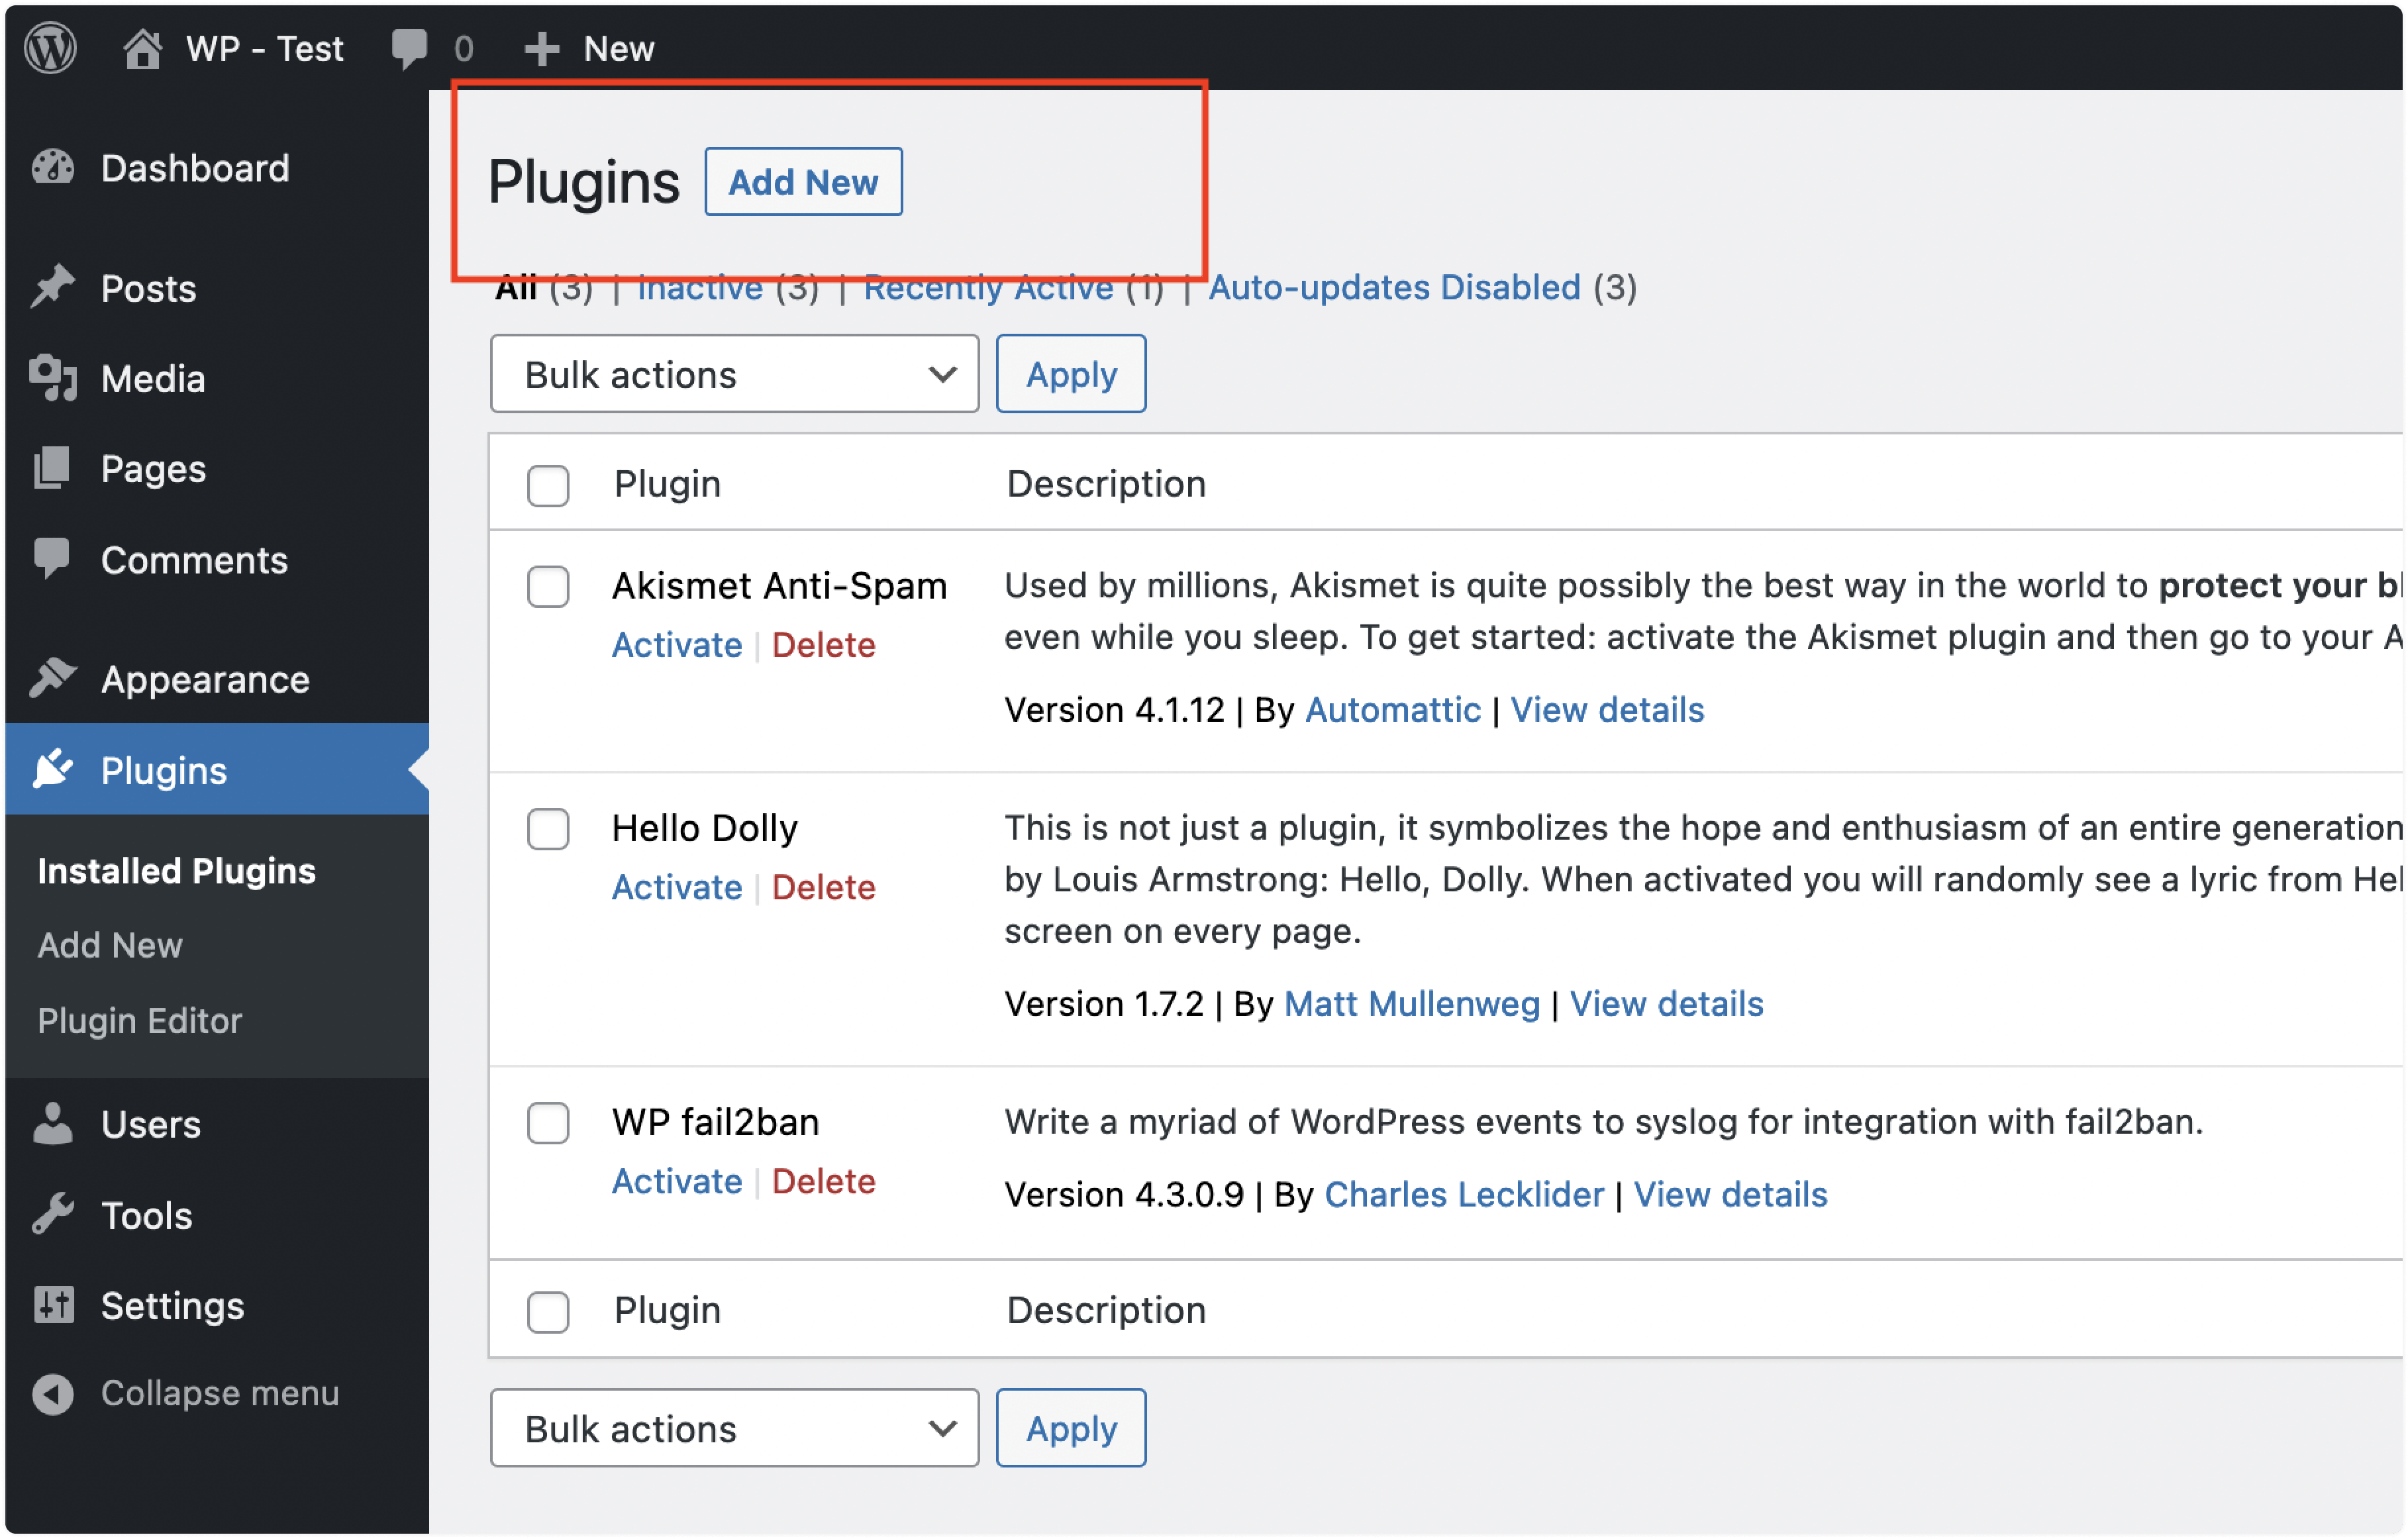
Log in to your WordPress account. Navigate to the Admin Panel and click “Plugins” from the sidebar. You will be able to see the "Add New" button.
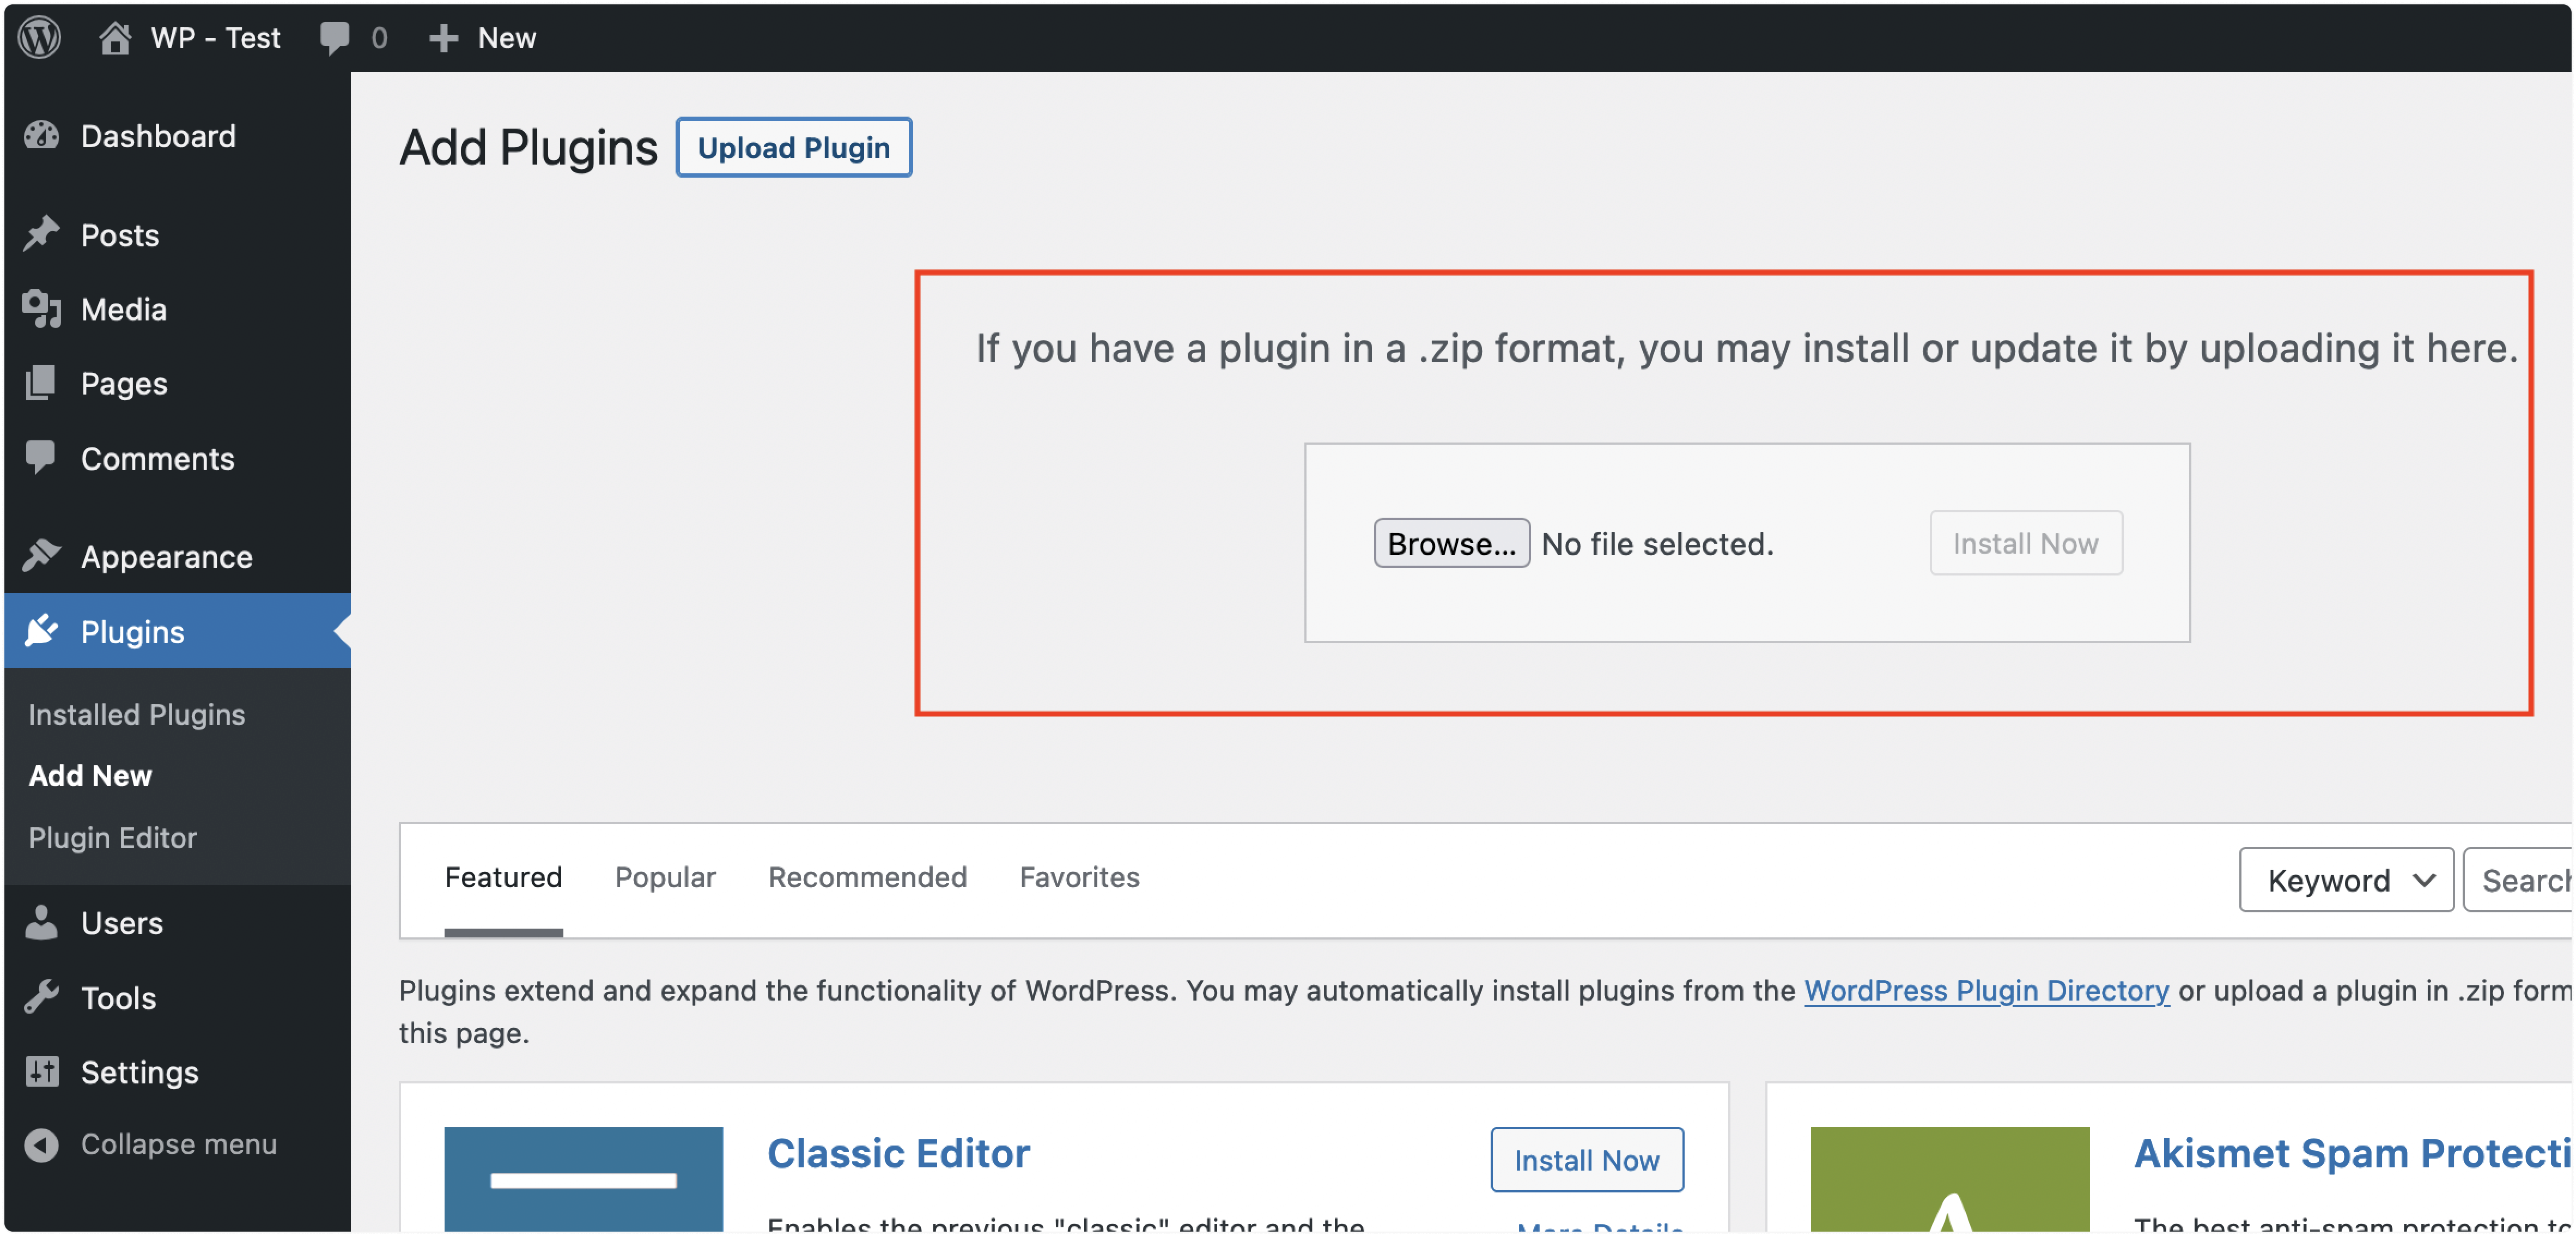
You will see an option to upload the plugin, as shown in the screenshot below. Click “Browse” and select the Zip file downloaded in step 1.
Step 3. Activate the plugin
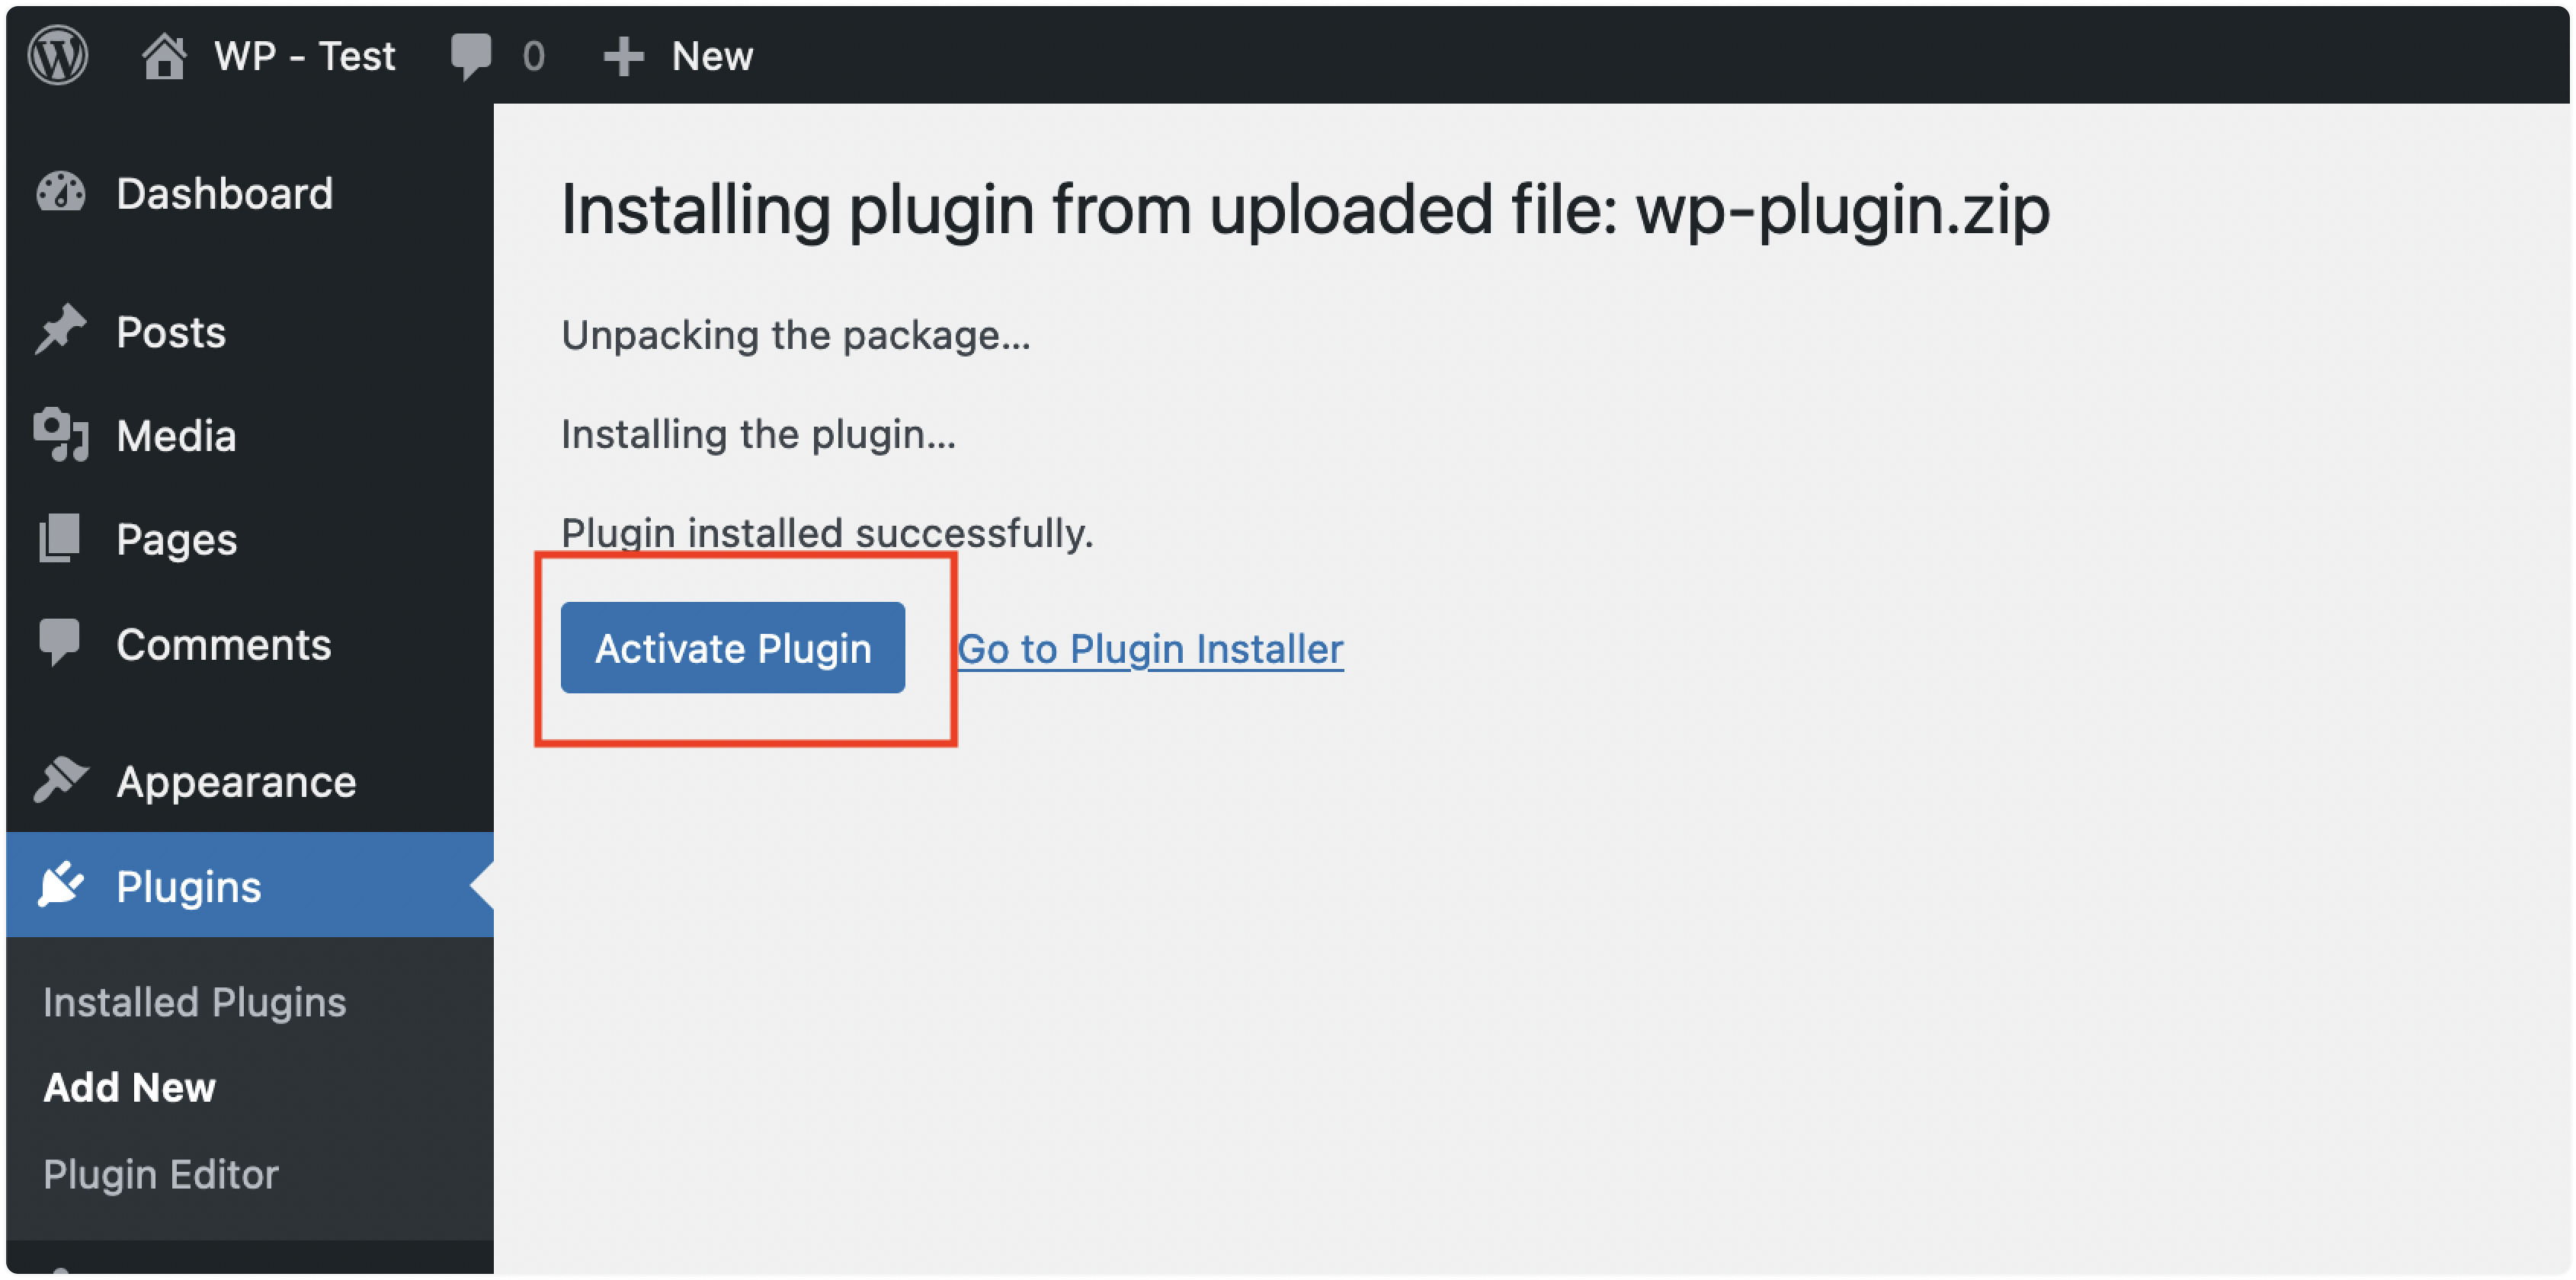
Once the plugin is uploaded, you will see a Success screen with the "Activate Plugin" option, as shown below. Click the "Activate Plugin” button.
Congrats! The plugin is now installed, you would see a Ruut Plugin view as shown below.
To complete the configuration, you must add your Ruut app credentials.

Step 4. Configure the plugin
Now, you will be able to see “Ruut Settings” under your "Settings" menu. Click on that to update the live-chat configuration.

You will be presented with the Settings screen as shown below. Configure your Ruut plugin here to make it work.
You need to create a Website inbox on your Ruut installation. Please refer to this guide to create a website channel inbox.

Once you have your inbox channel created. copy the website token from the website channel setting and include it below in the field called Ruut Website Token.

Once you complete the form, click the "Save changes" button.
**
Step 5. Verify that the plugin is working correctly**
Visit your website and see if the widget appears on the website!
